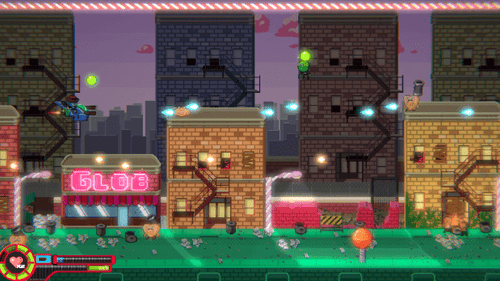
Unity Bloom Post Processing & Emission Maps
Unity Bloom Post Processing & Emission Maps (For Devs) Import this unity package - it will allow us to use...
bloom maps and lighting effects Nov 02, 2017
Unity Bloom Post Processing & Emission Maps (For Devs) Import this unity package - it will allow us to use...
bloom maps and lighting effects Nov 02, 2017
3559 Bigelow Boulevard Pittsburgh, PA 15213

