
Making An Authentic Metal Soundtrack: Coffee Crisis Case Study
How do you achieve such an authentic sound? I have compiled a variety of tools over the years that are...
mega cat studios Jan 15, 2020
How do you achieve such an authentic sound? I have compiled a variety of tools over the years that are...
mega cat studios Jan 15, 2020
Classic 2D pixel art is timeless, but modern games take the flourishes of dynamic lighting, shades, particle systems, and post-processing...
bite the bullet Jan 15, 2020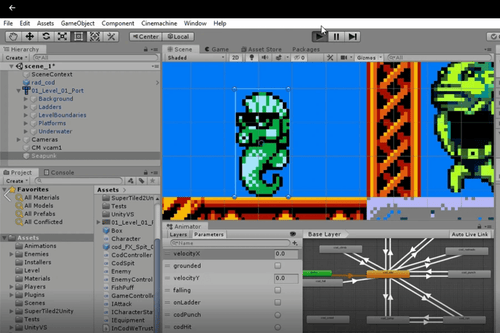
You have a game design doc, various art assets, and Unity - now what?
advantages of unity Sep 12, 2019
The goal of a sound engineer is to work with the design and animation team to create audio that fits...
News Jul 02, 2019
In addition to turning reams of design documentation and gorgeous art assets into an actual playable game, one of the goals...
maintainable code in video games Jun 25, 2019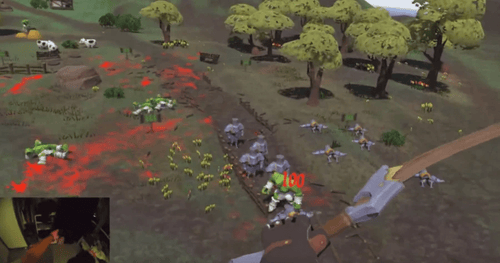
A lot of work was put into making sure Another Reigny Day has just the right curve to its difficulty....
Another Reigny Day Jun 04, 2019
3559 Bigelow Boulevard Pittsburgh, PA 15213

