
Unity - Undefined Script Order of Execution Bugs
When a bug consistently reproduces for one person but never does for another, or it appears in a build but...
game development May 03, 2022
When a bug consistently reproduces for one person but never does for another, or it appears in a build but...
game development May 03, 2022
Cinemachine is a suite of camera tools for Unity, which gives triple-A game quality controls for every camera in your project. The...
game design Jan 23, 2020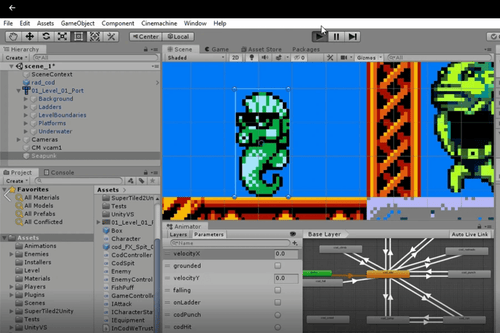
You have a game design doc, various art assets, and Unity - now what?
advantages of unity Sep 12, 2019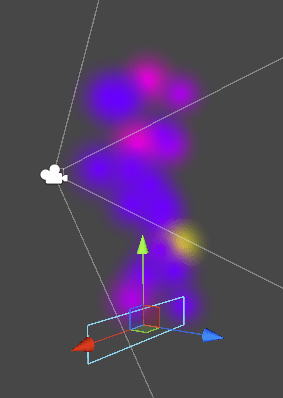
Important note for devs: Make sure Razer Synapse is up to date, otherwise some SDK features will not work. For...
chroma Dec 09, 2017
Unity Bloom Post Processing & Emission Maps (For Devs) Import this unity package - it will allow us to use...
bloom maps and lighting effects Nov 02, 2017
3559 Bigelow Boulevard Pittsburgh, PA 15213

