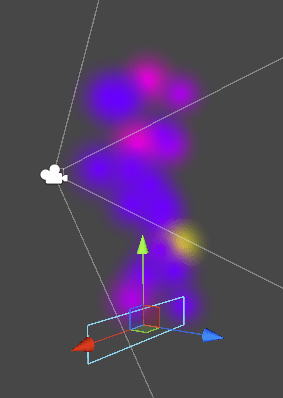
Unity Chroma SDK: Using Particle Systems to Make Beautiful Chroma Animations
Important note for devs: Make sure Razer Synapse is up to date, otherwise some SDK features will not work. For...
chroma Dec 09, 2017
Important note for devs: Make sure Razer Synapse is up to date, otherwise some SDK features will not work. For...
chroma Dec 09, 2017
3559 Bigelow Boulevard Pittsburgh, PA 15213

