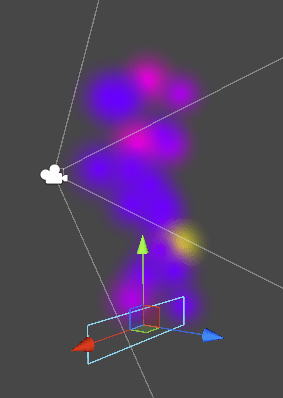
Unity Chroma SDK: Using Particle Systems to Make Beautiful Chroma Animations
Important note for devs: Make sure Razer Synapse is up to date, otherwise some SDK features will not work. For...
chroma Dec 09, 2017
Important note for devs: Make sure Razer Synapse is up to date, otherwise some SDK features will not work. For...
chroma Dec 09, 2017
Emission Map Guide for Artists Emission maps are used to describe how much bloom/glow should be emitted from parts of...
emission map Nov 08, 2017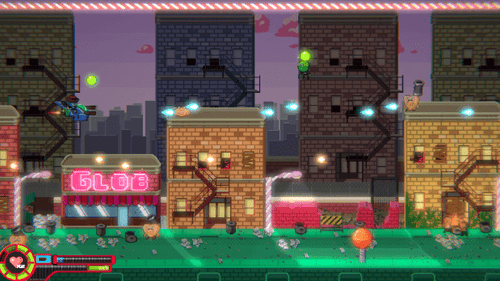
Unity Bloom Post Processing & Emission Maps (For Devs) Import this unity package - it will allow us to use...
bloom maps and lighting effects Nov 02, 2017
Run & Gun, and...eat? Saw through flesh a new-fashioned way or drill through enemies with fast-paced gunslinging with Bite the...
earthworm jim Oct 15, 2017
One of the most important elements of implementing a feature or mechanic is ensuring it looks and feels good for...
game dev Sep 21, 2017
3559 Bigelow Boulevard Pittsburgh, PA 15213

