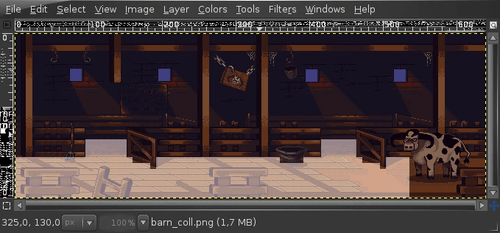
Map Formats and Importing Levels for Genesis
There are a ton of to be taken into account when picking level formats for a game. For example, designers need to consider what information is...
create your own game Apr 24, 2018
There are a ton of to be taken into account when picking level formats for a game. For example, designers need to consider what information is...
create your own game Apr 24, 2018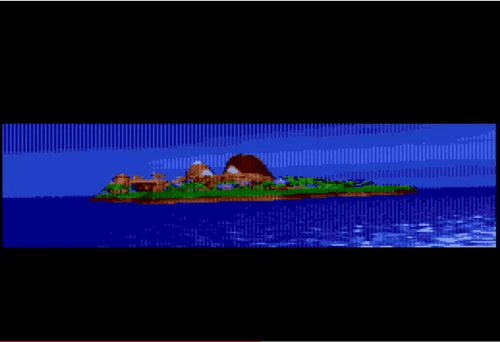
All of this information is getting pulled from the following series of videos. If you are planning on doing anything...
full screen animations Mar 29, 2018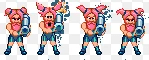
The second in a series about designing enemy concepts and behavior, using examples from Lethal Wedding.
bride games Jan 12, 2018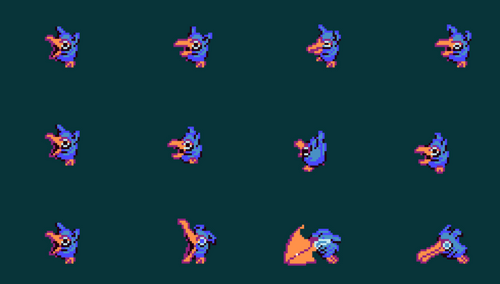
Happy Holidays and welcome back to the dev log for our upcoming game We Got Dungeons! Today we'll talk a...
90s game Dec 25, 2017
A time-saving trick for making Sega Genesis background graphics.
creating sega genesis backgrounds Nov 30, 2017
A look at structures and game objects for our tactical RPG on the Sega Genesis and Mega Drive.
90s game Nov 14, 2017
3559 Bigelow Boulevard Pittsburgh, PA 15213

