We Got Dungeons - Dev Log 5
Happy Holidays and welcome back to the dev log for our upcoming game We Got Dungeons! Today we'll talk a...
90s game Dec 25, 2017
Happy Holidays and welcome back to the dev log for our upcoming game We Got Dungeons! Today we'll talk a...
90s game Dec 25, 2017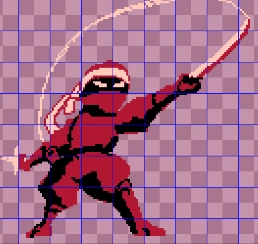
Making NES backgrounds for Almost Hero 2, a new retro game from Mega Cat Studios. Discusses NES art restrictions, NES...
Almost Hero Nov 29, 2017
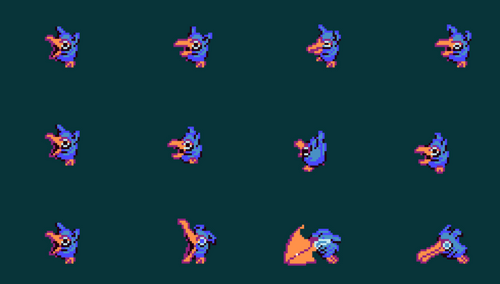
A look at structures and game objects for our tactical RPG on the Sega Genesis and Mega Drive.
90s game Nov 14, 2017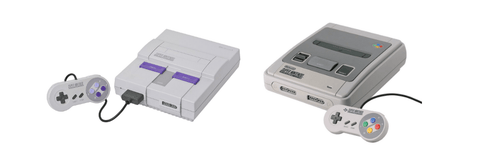
Super Nintendo Super PPU Graphics Guide v0.1 (10/09/17) Mega Cat Studios OVERVIEW OF PPU CONCEPTS Super PPU Super "Picture Processing...
retro game Nov 08, 2017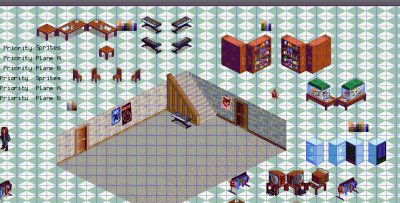
Last time we announced our new upcoming game for the Sega Genesis, We Got Dungeons. This time we'll delve into...
90s game Nov 08, 2017
We got a danger. We got to battle. We got tactics. We got a choice. We got a story. We...
90s game Oct 24, 2017
3559 Bigelow Boulevard Pittsburgh, PA 15213

